I got the yen to pull out the sewing machine now that we are more settled in our new abode.
By the way while sewing during naps/at night, I watched/listened to Ever After the movie about 3 1/2 times. I love that one! D. thinks I'm crazy... he's probably right.
I had a few patterns and pieces of fabric to sew with. Then I discovered Walmart's clearance fabric. Yes. I'm thrilled that our small town's Walmart has a fabric section... that ROCKS!
My station...

Oh, by the way. The miracle worker for these skirts was this walking foot. Excellent for keeping stretchy and silky layers together.

Here is a pattern and actually already begun skirt... I haven't quite finished this one.
#1

Fabric #2 with pattern I already had (hint, this was a bed sheet from Goodwill!)

Wa-la! A comfy, cozy skirt! I love long skirts. BTW, the hem on this thing took FOREVER.

Oh, side project. Old nursing cover that was too small into baby apron for my kitchen helper.

Cut off the bottom, hem, re-attach pockets that were on the back to the front. Make straps out of cut off bottom section and attach those. Sew button holes into neck strap to attach to the button that was already there.

These two pieces of fabric came to a total of $1.60... not bad.

A step by step description for basic red skirt without a pattern. (Skirt #3)
Dustin asked me what the print was on the fabric... we're still not sure... maybe cotton candy?
Lay out fabric.
I'll explain right now. I did this skirt one way the 1st time, didn't love it, so I unpicked the waist while sitting in bed one night, made some alterations and re-sewed it. Here's how I liked it.

Measure waist with elastic. Sew and then sew ends down flat.

I cut my rectangle in half hamburger style and sewed together to make a big "hot dog" piece of fabric :)
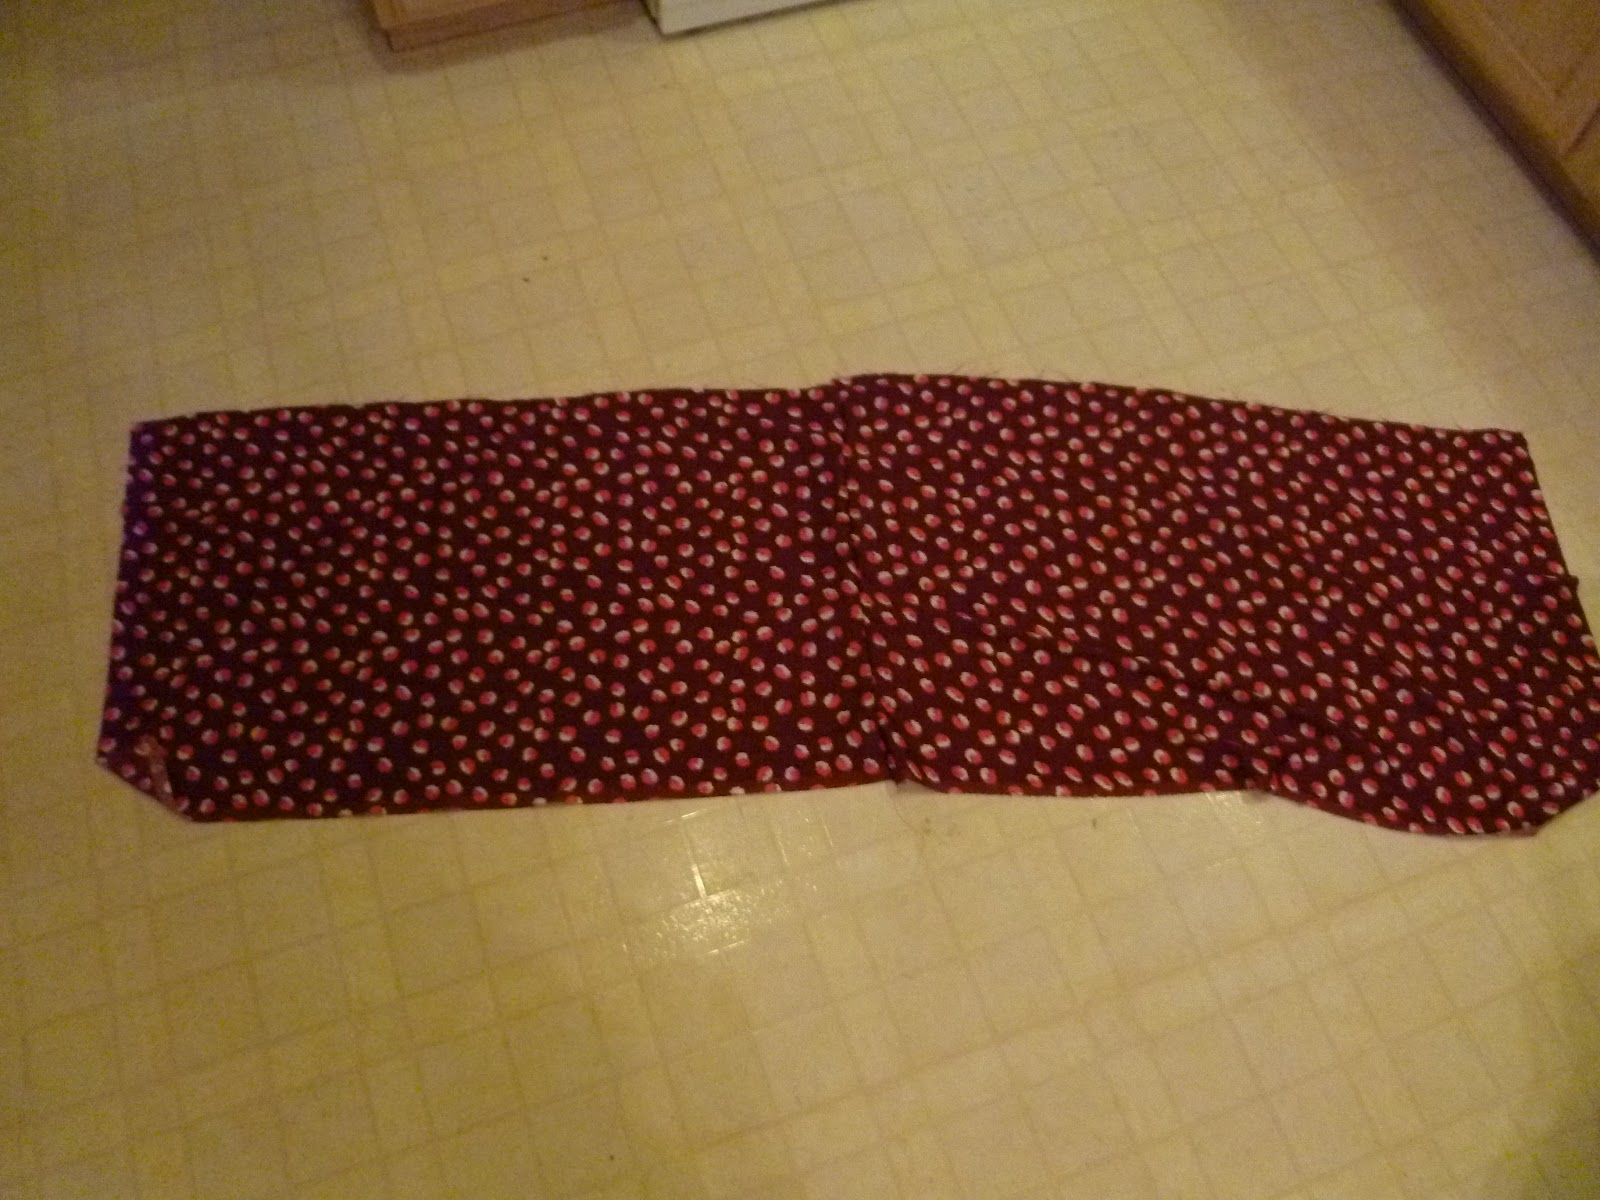
Fold fabric over and center waist band above it.

Cut a diagonal line from bottom corner to about 1.5" from waistband edge. (do this on both sides)

stitch across top and pull threads to gather. I read on pinterest that there's an easier way to do this but I have yet to read about it.

pin gathered fabric to waistband (.97 cents at Walmart)

Attach with zig zag stitch

Wa-la!

Skirt #4
Fold in 1/2 and make same kind of waistband as above. Cut at a diagonal from bottom to 1.5" or so from waistband.
Sew up diagonal, sew hem (my LEAST favorite part of sewing. Maybe I'll ask for a rolling hem foot for Christmas :)
Stitch top and gather, pin and sew to waistband.

Wa-la!

Fabric and pattern #5 which I already had (thanks Mom)


#6
I made a second pencil skirt with about $1.00 of fabric from Walmart's sale table! On this one I made the back flat, no ruffles. More traditional.

There you have it. 6 new skirts with 2 more on deck... we'll see when I actually get the itch to pull the machine out again and make those two.