Thursday, September 29, 2011

Baby Tights


Outline one half of some tights that you want to copy size-wise to make the piece shown in paper below
Place the long side along a fold and cut out two of them
Your two pieces
Layer right sides together and sew short sides
Using this stitch
My first time using this stitch and presser foot, took some getting used to!
I learned that it's not supposed to look like this...

It's supposed to look like this...

Open up the tights once the short sides are sewn and flatten out to make the short sides the front and back and sew up the whole tights.

Turn right side out
Measure the waist of your baby and sew the elastic closed
Fold the fabric over the elastic and sew ziz zag stitch
Fold over again and sew.

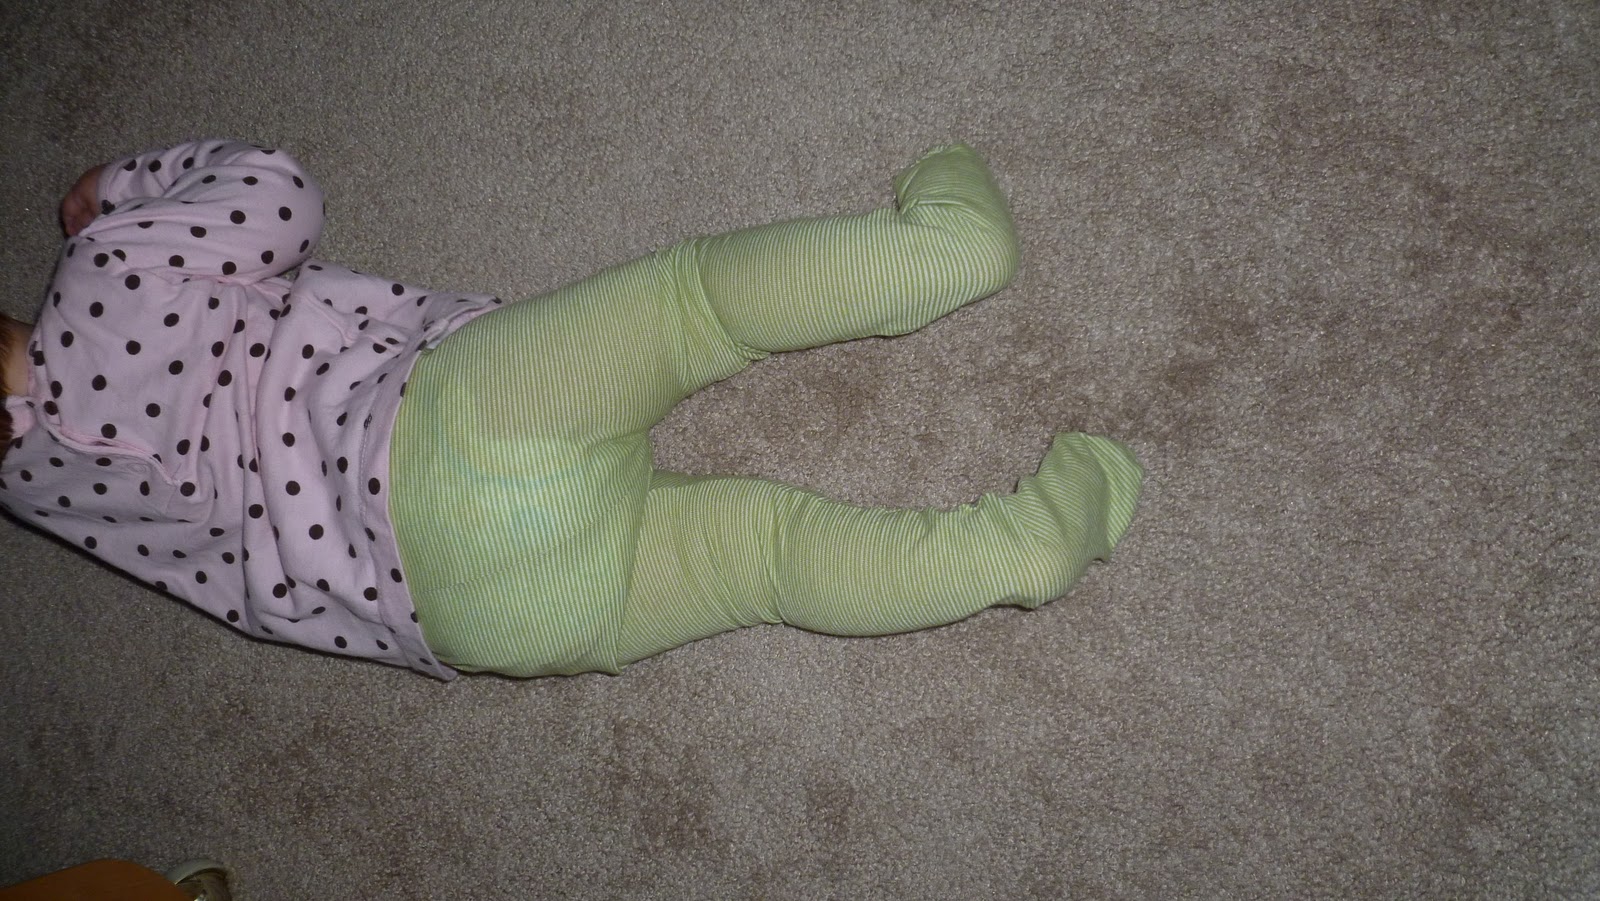
Try them on your model...


Tuesday, September 27, 2011

Cute Little Shoes


Print off the patterns (I chose 6-12 mos and 12-18 mos)

 The longest part of the whole process was cutting out all the pieces.
 Layer the pieces and iron the fusing on.

 Layer, place the straps according to the pattern and sew inside "U"
Flip and iron down and top stitch around the "U" again, this time right sides out.
 Sew soles
 Pin together like so...

 Sew around the outside and turn right side out.

 I made these in size 6-12 mos and they're perfect for my 9 month old with room to spare.


Friday, September 23, 2011

Tee Shirt Skirt


Inspiration site
Cut the largest tee shirt you can find right under the armpit
Wrap the elastic thread around the bobbin and the yellow or matching thread as the top thread. Sew your first line right at the top of the skirt.
Keep sewing around at equal spacing, keeping the fabric taut. 
Keep sewing, I did 11 rows.
Tie off the strings (oh back stitch when you start and stop for extra reinforcement, then tie the strings and trim)


Steam it with the iron... so cool, it shrivels up!


Borderline short :) But nice for around the house on a hot day.


Sunday, September 18, 2011

Petticoat/slip


Inspiration Site!
Extender slip/petticoat.
I bought 1 yard of lace at Hobby Lobby for about $2.80
I'd recommend buying about 1 1/2 yards to have extra for fussing with.
I had a slip that was around the right length and just sewed it around the bottom of my slip. You can also buy a long slip and cut it.
Now something fun to add under some skirts!


Friday, September 16, 2011

Halloween Banner


No inspiration site for this one... all came from my head!
I've had these great Halloween papers in my scrapbooking items for a while and couldn't wait to pull out my new craft punch.

Cut out 28 circles
(H-A-P-P-Y H-A-L-L-O-W-E-E-N) X2


Cut black strings of various lengths

Knot the bottom of each one and rub glue stick on one circle, stick string in the middle, stick another circle on top.

One down, 13 to go!

Trace the letters in paint using stencil

Tie onto rod (I painted mine black)
Leave a space between words of course. Tie fun Halloween ribbon on (mine is spider web ribbon)
Hang from ceiling or on wall!

Boo!

Wednesday, September 14, 2011

Why I Craft

I just finished watching Julie and Julia and I felt such a connection with what Julie was doing. Have you seen it? She takes on a project (cook all the way through Julia Child's Mastering the Art of French Cooking in 1 year) and writes about it!

While I don't have a specific end goal in sight, I feel compelled to continue to discover new things about sewing and creating. I love it. I guess I am my mother's daughter! I feel such a sense of accomplishment, I'm learning new skills and using what I learn to make our lives richer.

Just so you don't think it's all for me and my daughter, I did fix my husband's leather biking gloves with my sewing machine yesterday. See, he benefits too :)

Well that's all for now but I just wanted to throw that out there. Thank you for visiting and please leave a comment so that I know that you're here :)

Tuesday, September 13, 2011

Easy Breezy Skirt- the easiest skirt I've ever made!!


Started with a bedsheet :)
Cut waist band (waist + .75"X7")
Fold in half, iron and sew right below top fold

Continue sewing lines across your waist band. This is to keep the structure of the band as it is washed and worn.
Zig-zag or serge your sides
Machine baste (longest stitch length and no back stitching) the long side of the skirt piece (which I just left the width of my bedsheet and length I though would look good) in 4 segments. Carefully pull a string and gather the fabric of the skirt.
Lay gathered skirt and waist band right sides together and pin in place
Sew along this line and unpick the basting if it shows
Baste up the back of the skirt, sew the zipper on and unpick the basting. Sew the back together below the zipper. Wa-la!
Unpicking basting over a zipper is one of my FAVORITE things in sewing.


This was so nice since it was already hemmed with a nice blue hem! I love sewing with sheets!